• Skip to main content
  • Skip to header right navigation
  • Skip to after header navigation
  • Skip to site footer
Mama Jenn

Mama Jenn

Helping you homeschool with ease and creativity!

  • Home
  • Blog
  • About
  • Shop
  • Freebies
  • Explore…
  • Educational Activities
  • Homeschool
  • Kid-friendly Crafts
  • Printables
  • Family Fun
  • Lifestyle Etc.
You are here: Home » Blog Posts » Educational Activities » Academic Subjects » Art Activities » DIY Homemade Colored Sand Tutorial (Step-by-Step Instructions with Photos)

DIY Homemade Colored Sand Tutorial (Step-by-Step Instructions with Photos)

By Jenn (aka Mama Jenn) • Last Updated: July 17, 2025

Note: This page may contain affiliate and/or advertiser links. Please review my disclosure policy.

  • Share
  • Tweet
  • Email

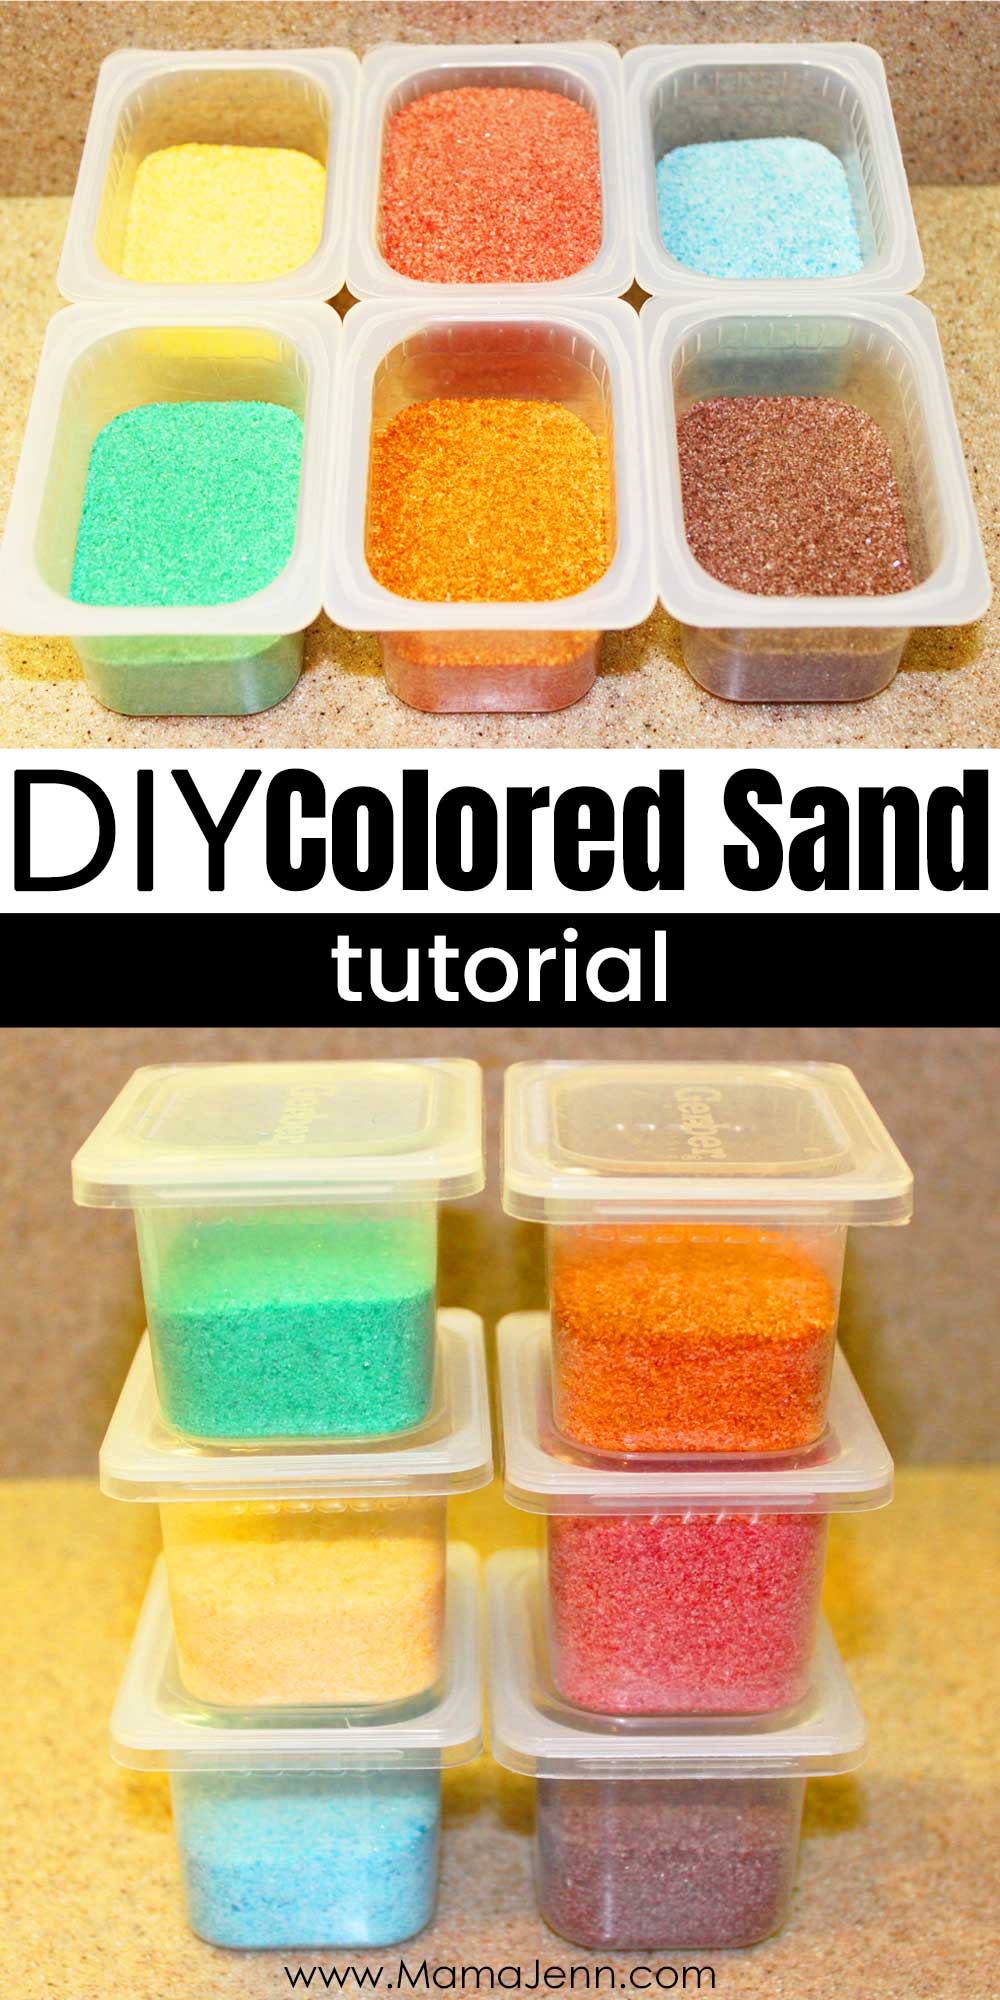
Make your own homemade colored sand with this super easy DIY tutorial! Have fun using it with various kid’s art projects!

Not too long ago, we needed some colored sand for an art project. So, we decided to try making our own!

Turns out it is super easy to make! I am providing the DIY tutorial in case you would like to make your own homemade colored sand as well!

DIY Homemade Colored Sand Tutorial

This page may contain affiliate and/or advertiser links. Please review my disclosure policy.

Supplies Needed to Make Homemade Colored Sand:

  • bowls (one for each color you want to make)
  • decorative sand (I found some in the Dollar Tree craft section.)
  • water
  • food coloring
  • aluminum foil
  • paper towels
  • storage containers (or plastic baggies) – I recycled some Gerber baby food containers.


Homemade Colored Sand Instructions:

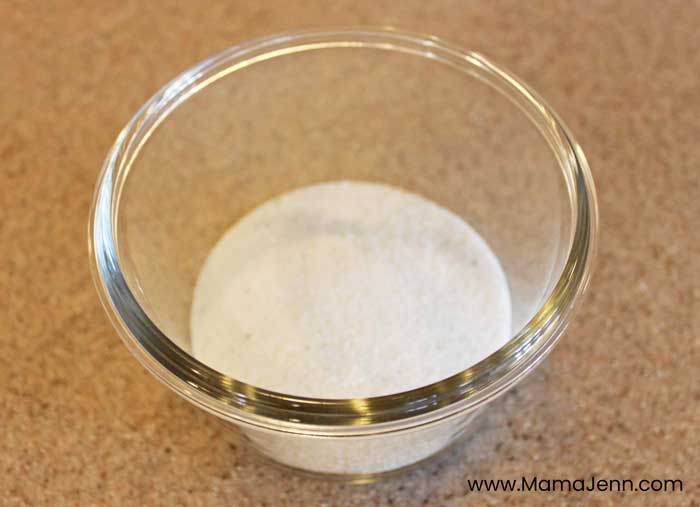
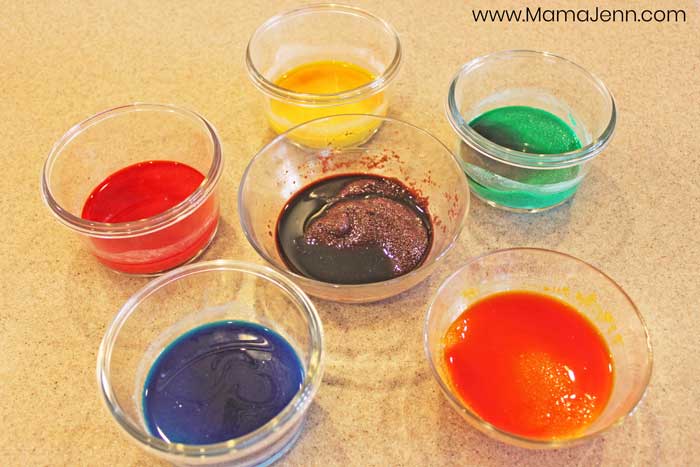
1) Pour the sand into the bowls.

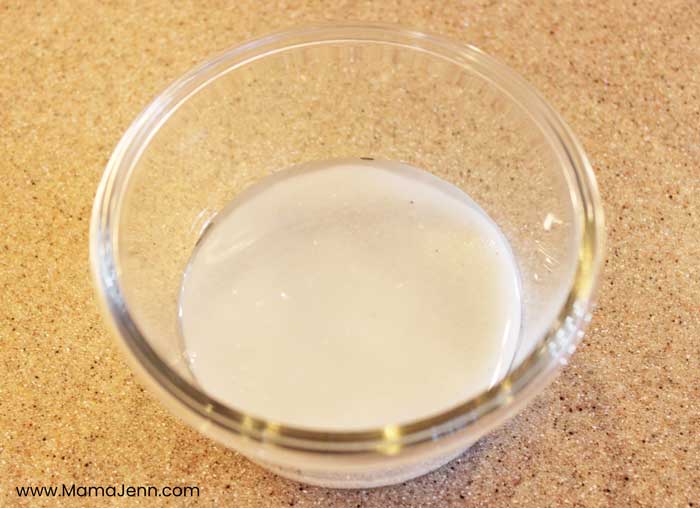
2) Add enough water to just barely cover the sand.

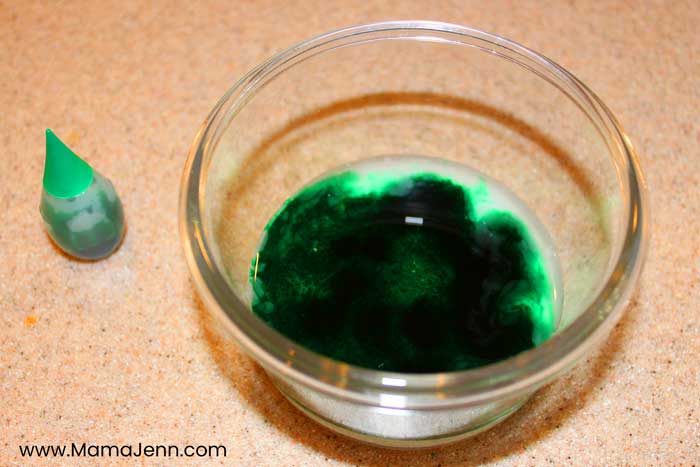
3) Add food coloring. The more you add, the darker the color.

4) Stir the mixture.

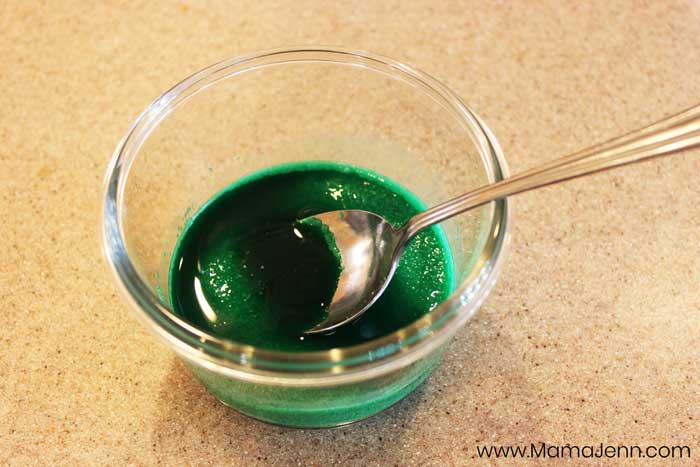
5) Let the mixture sit for an hour or two to let the sandy water absorb the food coloring.

six bowls with colored sand being made in them

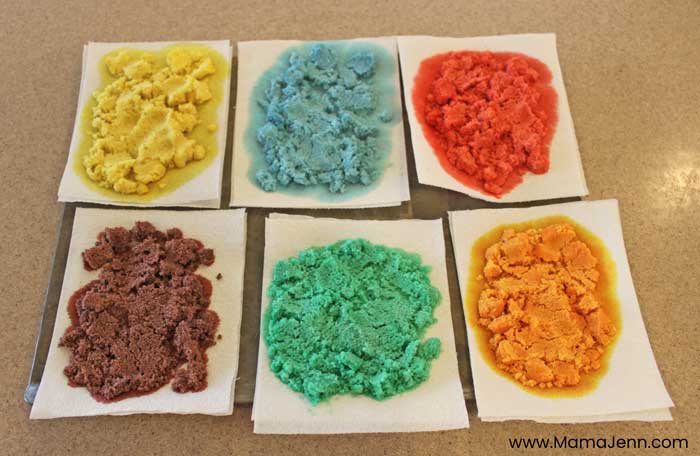
6) Carefully strain out the excess water and scoop the remaining pasty mixture onto a paper towel. Allow the sand to partially dry on the paper towels. The paper towel will absorb the extra moisture.

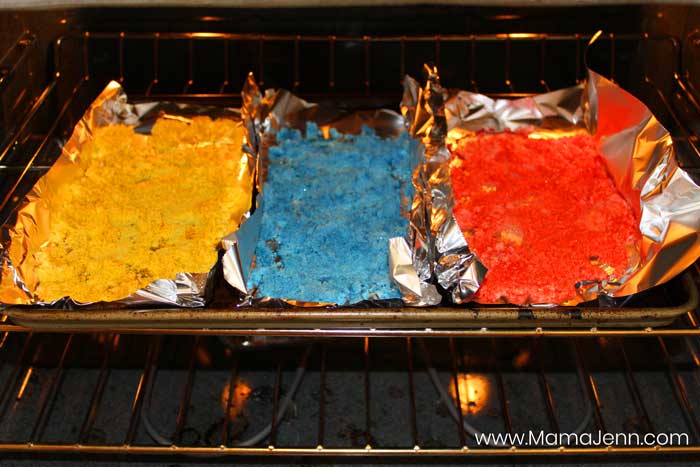
7) Transfer the mixture to aluminum foil. Use a separate piece of foil for each color and then place them on a baking sheet. Bake at 200 degrees until the sand is completely dry.

colored sand baking in oven

8) Once the sand is dry, allow it to cool and then store it in plastic baggies or containers until you are ready to make a masterpiece with your new homemade colored sand!

DIY Homemade Colored Sand Tutorial for Kids Crafts

How to Use Colored Sand for Art Projects:

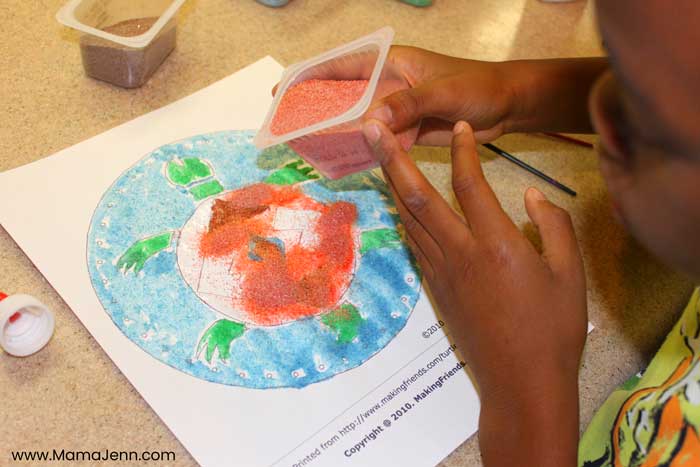
Making colored sand is super easy and using it for art projects is lots of fun! Once your sand is ready, grab some glue and “paint” the glue onto your paper.

child doing an art project using colored sand

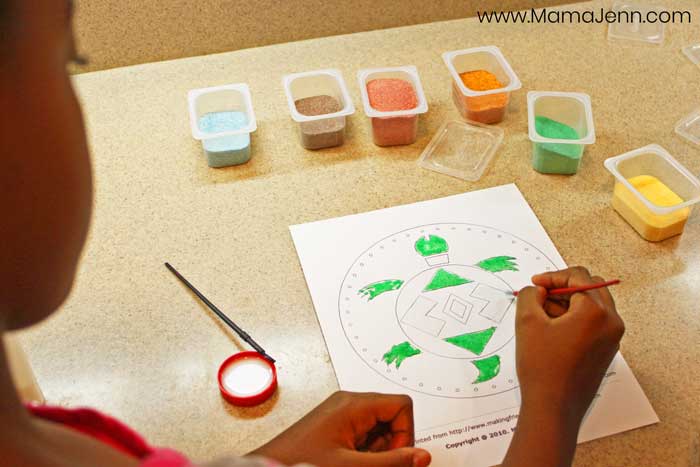
Then begin sprinkling the sand over the glue.

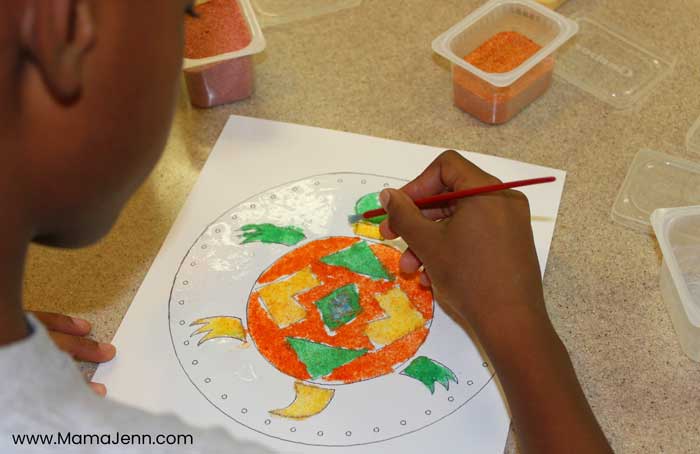
HELPFUL HINT: It’s best to use one color at a time. For example, glue the area where you want all the green, then pour green sand. Next, glue the area where you want all the red, then pour the red sand.

Continue painting with the glue and pouring the sand.

Allow to your masterpiece to dry and then enjoy your artwork! Here are our finished projects:

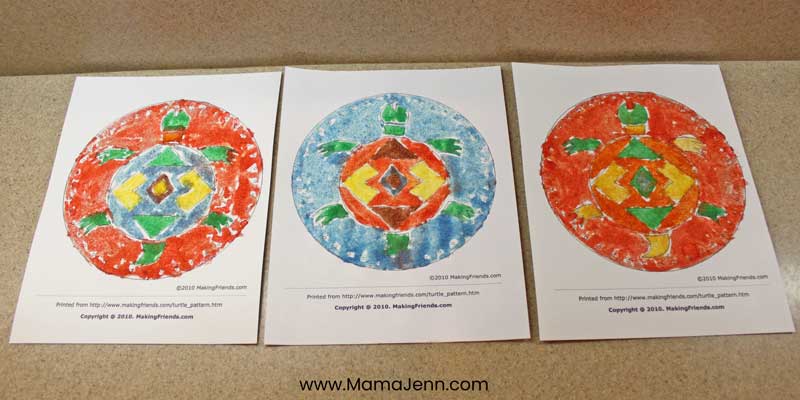
We had lots of fun making and using our colored sand. Are you planning to make your own? What art project will you use your homemade colored sand with?

Homemade Colored Sand DIY Tutorial for Kids Art Projects

Want to make colored rice? I have a tutorial for that too!

This post was originally published on October 13, 2011.

  • Share
  • Tweet
  • Email
Category: Art Activities, DIY Tutorials, Letter "C" Activities, Letter "S" Activities
Previous Post:Racing Racecars gameboard with text overlay: Racing Racecars FREE Printable GameboardRacing Racecars Printable Game
Next Post:Apologia General Science [3rd edition] Middle School CurriculumApologia General Science homeschool textbook and student notebook with text overlay Middle School homeschool Science

Reader Interactions

Leave a Reply Cancel reply

Your email address will not be published. Required fields are marked *

Comments

  1. Heather Leigh Honeyman

    October 12, 2014 at 11:03 pm

    I made some of this last night, and my food coloring is gel and very very concentrated, so I didn’t let it sit very long I only added enough water to mix the color in. I also added Pumpkin pie spice to the orange and vanilla extract to the black. Turned out amazing 🙂

    Reply
    • Mama Jenn

      October 13, 2014 at 4:05 am

      So glad the recipe worked for you! I LOVE the idea of adding pumpkin spice and vanilla!!!

      Reply
  2. Gina Bena

    September 19, 2013 at 8:23 am

    that is just brilliant and my kids will enjoy the process as much as the art.

    Reply
    • Mama Jenn

      September 22, 2013 at 5:39 am

      Thanks Gina! Hope you guys have a blast!!!

      Reply
  3. Mama Jenn

    July 8, 2013 at 5:28 am

    You are very welcome!!!

    Reply
  4. Mama Jenn

    November 8, 2012 at 11:28 pm

    Sorry, I’m not sure if it would hold the color or not. I would imagine it would probably fade. If you do decide to try it, please let me know how it goes.

    Reply
  5. van

    November 3, 2012 at 4:28 pm

    hi. What if i used this homemade colored sand and put in a vial with water, is the color will fade? Thanks

    Reply
  6. JuRita

    October 16, 2011 at 1:36 pm

    good job Jenn! I was amazed when I saw the baby food containers. My first thought was you just bought some and threw it out… amazed you saved them that long! My girls would have found ours and used them for some girly purpose or painting without me asking. Miss everyone! We send our love 😉

    Reply
  7. Mama Jenn

    October 15, 2011 at 6:14 am

    I knew I wasn’t the only one!!! LOL!!!

    Reply
  8. Mama Jenn

    October 15, 2011 at 6:13 am

    I LOVE the leaf idea! I may have to try that!!!

    Reply
  9. Deebi27

    October 15, 2011 at 4:56 am

    Fabulous idea… for a pre-k class activity, they would have a blast mixing colors prior to baking. I can see fall leaves using leaf cookies cutters for patterns!

    Reply
  10. Debbie Stanton

    October 14, 2011 at 3:14 am

    I have a few of those same containers left and my son is almost 5!!! lol

    Reply
  11. Stacie

    October 13, 2011 at 7:56 pm

    I really like this idea!! Sand at the dollar store??? Who knew! So now I’ll have to make a little trip on over to the dollar store soon–LOL! I haven’t been since Aug. and it was “back-to-school” time and I tell, you it was so crowded in there, I could barely think! LOL Anyway, back to the post. . .this is great! I will have to try it out.

    I have to admit, I recognized those baby food containers from the start! I use them to store beads for my daughters’ hair!! LOL Thanks for posts like these because it really helps Mamas like me who struggle with being creative!!

    Reply
  12. Kayla Arrowood

    October 13, 2011 at 3:28 pm

    We colored rice a few months back and it was so easy and fun!!! Thanks for this craft idea!

    Reply
  13. Shelly

    October 13, 2011 at 2:27 pm

    Awesome! Thanks for sharing this tutorial!! I’m definitely going to have to try this!

    Reply

Sidebar

Mama Jenn Headshot

Hi there! I'm Jennifer (aka Mama Jenn).

My goal is to help you homeschool with both ease and creativity by providing educational activities, crafty ideas, and homeschool resources along with loads of free printables that can be used by anyone with a heart to make learning fun and engaging! Read more here >>

Looking for Something?


Popular on the Blog:

graphic with jelly bean background and Jelly Bean Prayer Cards on white overlay with text Jelly Bean Prayer Printable Cards
Number Line Addition Subtraction Math Games
Circus Tent Craft Template for Kids
Black History Picture Books
Listening Ears Paper Plate Craft for Kids
Mama and Me Journal Labels
Art Warm-up Activities
Calendar Board Printables
TP Tube Rolling Race Car Tutorial
The Snowy Day book cover with text overlay The Snowy Day Crafts & Activities
Ten Commandments Printables
DIY Homemade Colored Sand Tutorial

Copyright © 2008–2025 Mama Jenn · All Rights Reserved.
Clipart Copyright © 2025 Vital Imagery Ltd & GraphicsFactory.com
Contact | Disclosure Policy | Terms of Use | Privacy Policy


Visit My Other Sites:

This site uses cookies. By continuing to use this website, you agree to their use.
More info Accept
Privacy & Cookies Policy

Privacy Overview

This website uses cookies to improve your experience while you navigate through the website. Out of these, the cookies that are categorized as necessary are stored on your browser as they are essential for the working of basic functionalities of the website. We also use third-party cookies that help us analyze and understand how you use this website. These cookies will be stored in your browser only with your consent. You also have the option to opt-out of these cookies. But opting out of some of these cookies may affect your browsing experience.
Necessary
Always Enabled
Necessary cookies are absolutely essential for the website to function properly. This category only includes cookies that ensures basic functionalities and security features of the website. These cookies do not store any personal information.
Non-necessary
Any cookies that may not be particularly necessary for the website to function and is used specifically to collect user personal data via analytics, ads, other embedded contents are termed as non-necessary cookies. It is mandatory to procure user consent prior to running these cookies on your website.
SAVE & ACCEPT
  • Pinterest
  • Facebook
  • X
  • Email
208 shares